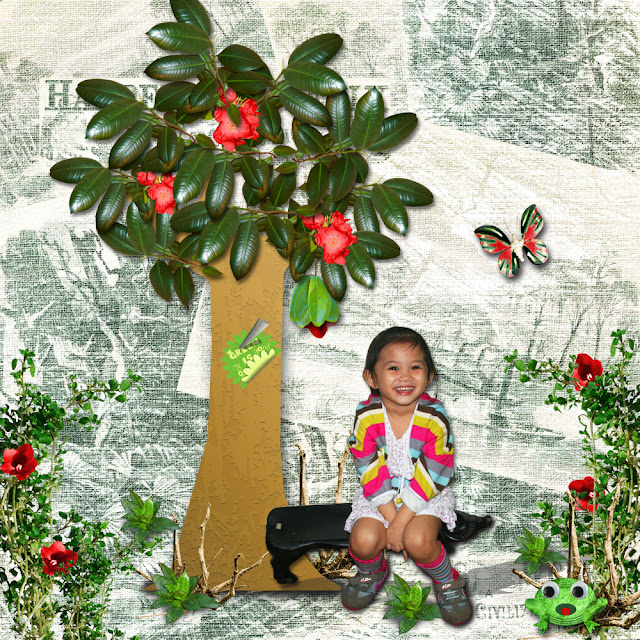
Most of my digital scrapbooking layouts features made-up scenes using photos I extracted and other elements from digital scrapbooking kits. Though there are several ways to extract photos, let me share with you how I usually do it.
I have tweaked the instructions a bit to make it easier (I hope... at least I now find it easier... I hope you do too).
-oo0oo-
What you need for this project:
- Photoshop CS3 or higher (I'm using Photoshop CS3)
- A good computer, one that can handle working with graphics (slower machines will die when working with large hi resolution files, which digital scrapbooking elements usually are)
- Basic knowledge of Photoshop
- A good, clear photo of the object or person you want to extract.
-oo0oo-
STEP 1: Open your photo in Photoshop.
For this tutorial, I am using the photo of a flower that we saw at Burnham Park on our recent trip to Baguio.
Step 2: Zoom in and enlarge your photo. This makes seeing the edges of your photo that you need to trace later easier.
I sometimes go as high as 200% photo enlargement, depending on the size of the photo I need to extract.
Step 3: Select the Polygonal Lasso Tool
To make sure you are using the correct Lasso tool, right click on the Lasso Tool icon. When the different types of available Lasso tools appear, select Polygonal Lasso Tool.
Step 4: Using the Polygonal Lasso Tool, click along the edges of your subject. Click first on one point along the edge of your subject. And then move a little along the edge of your subject and click again. This will give you smoother curved lines.
Keep doing this until you reach a point close to where you started. Double click near that point to close your shape.
Don't worry if your tracing is not perfect. On my example above, I purposefully traced inside my object and then outside my object. I will show you how to correct this on the next step.
Step 5: To add more areas of the photo, in case you made a mistake or closed your shape by double clicking too soon, select the Polygonal Lasso Tool, and then on the tool's settings on the bar above, select the option that says "Add to selection" (see where the arrow is pointing below).
After selecting "Add to selection", you can then trace along the edges of the area that you wish to add to your selection. To correct the mistake I made in Step 4, I traced along the lines I highlighted in red. Double click when you reach the point near where you started to close your shape. After you close your shape, you will see that the area I initially missed is not included in the selected area of my object (see area encircled in the image below).
Now for that other area where I included a lot of space outside the flower, on the tools settings on the bar above, click the icon that says "Remove from selection" when you hover over it (see where arrow is pointing on the image above). After choosing this setting, I traced along the edges of the area that needs to be removed from my selection. I highlighted the path I traced in the image above.
Double click when you reach the point close to where you started to close your shape. After closing your shape, you will see that the extra area has been removed from your selection.
Step 6: (Optional) Refine your edge. I say this is optional because depending on the quality of your image and the smoothness of the lines you traced along the edges of the object you wish to extract, you might not need this. One way to check is to click Refine Edge (will only appear if your Lasso Tool is still selected). On the photo above, Refine Edge is on the right-most side of the icons for removing and adding to selection.
Clicking Refine Edge will give you a closer look at what your extracted image now looks like. Check the edges. If they seem a little rough, increase the Feather value. Feather refers to the amount of blur on the edges of your image. I like my edges looking crisp so I try to use a lower value for Feather most of the time.
I usually only play with the Radius, Smooth and Feather values until I'm happy with how the edges of my object looks.
If you are already happy with how the edges of your object looks, click Ok.
Step 7: Copy your selected area. You can do this by going to Edit, and then choosing Copy, OR using keyboard shortcut CTRL + C.
Step 8: Open a new blank file. Go to File, then click New. After copying a selection, when you open a new file, the size will always be the exact same size of the area you just copied. On the Background Contents field, choose "Transparent".
Step 9: Paste your selected area. You can do this by either going to File, and then choosing Paste, OR using keyboard shortcut CTRL + V.
Step 10: Save your extracted image as a .PNG file.
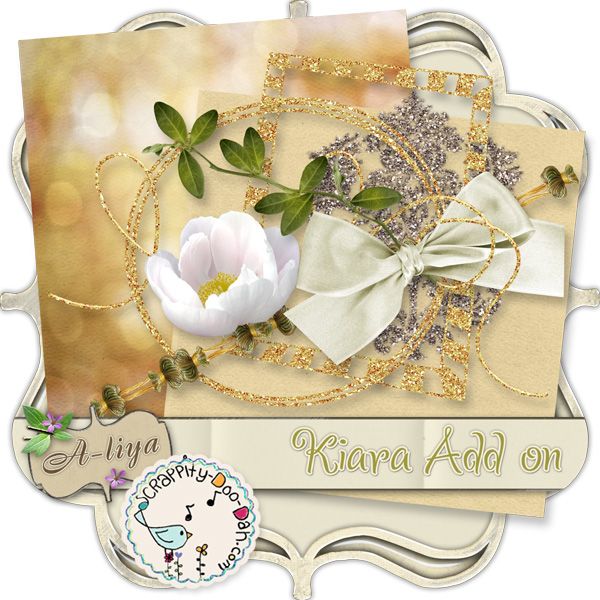
And you have your extracted image which you can use for your digital projects. As an added bonus for checking out my tutorial, I will be giving away the image I extracted for this tutorial as commercial use items :)
I am including the extracted flower, and I'm throwing in a greyed out version which you can recolor and use for your projects.
Thank you for visiting today and I hope you have fun trying this out!


